While this hack is specifically about notifying a specific team or user when an invoice has been paid, it can be adapted for other actions too.
Step 1
The first step was to create two new properties, in this case deal properties.
- Navigate to settings
- Under Data Management, click on ‘Properties’
- Select the object that you want the new properties to sit under - in this case the object is ‘Deals’

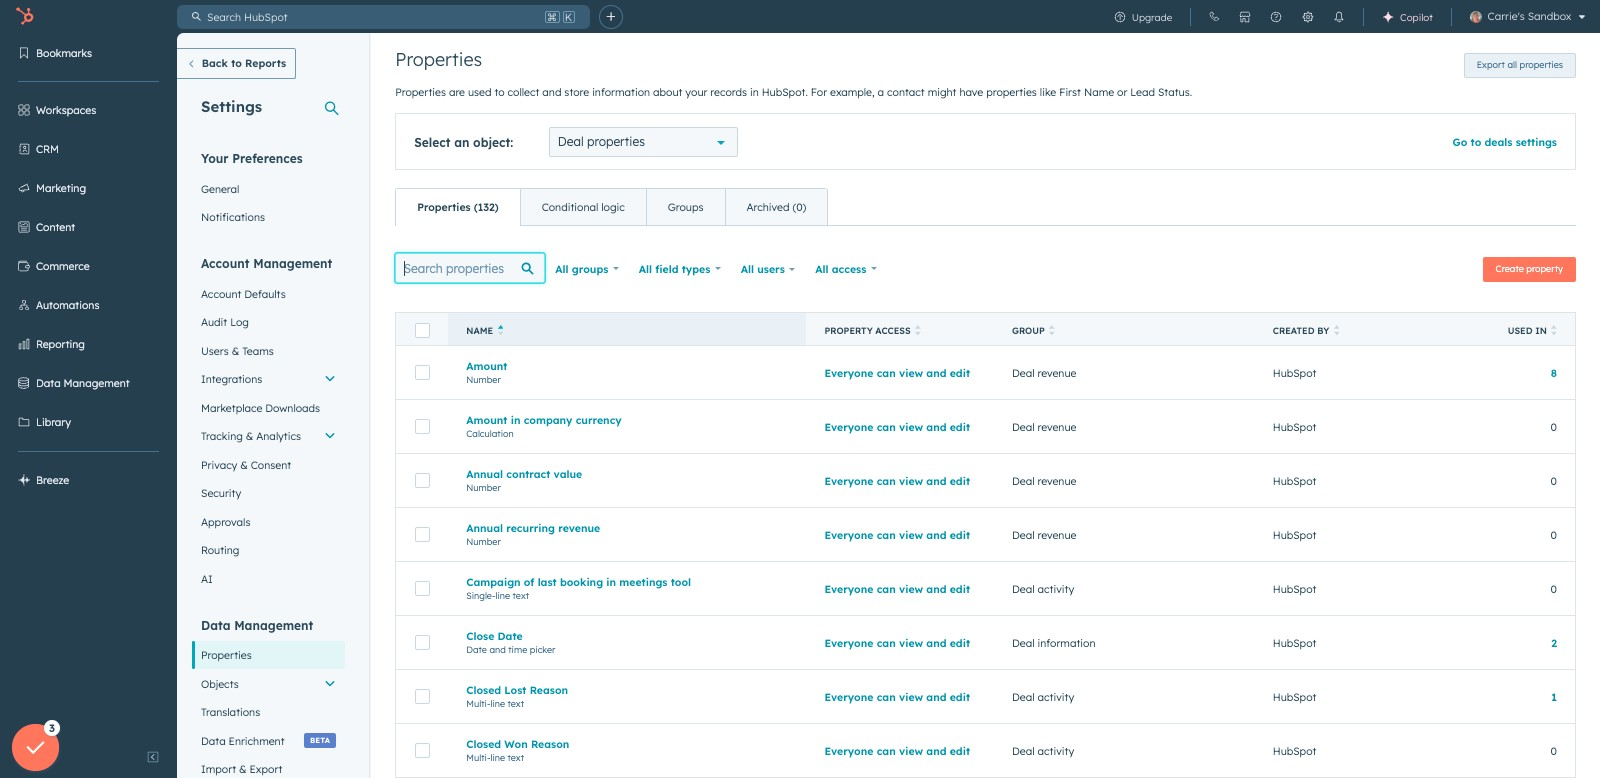
- I created the first property called ‘Invoice Paid’ as a single checkbox
- The second property called ‘Date Invoice Paid’ is a date picker property. In this circumstance the client wanted to have the option to backdate this field manually to match their records so we didn’t implement any rules.
Step 2
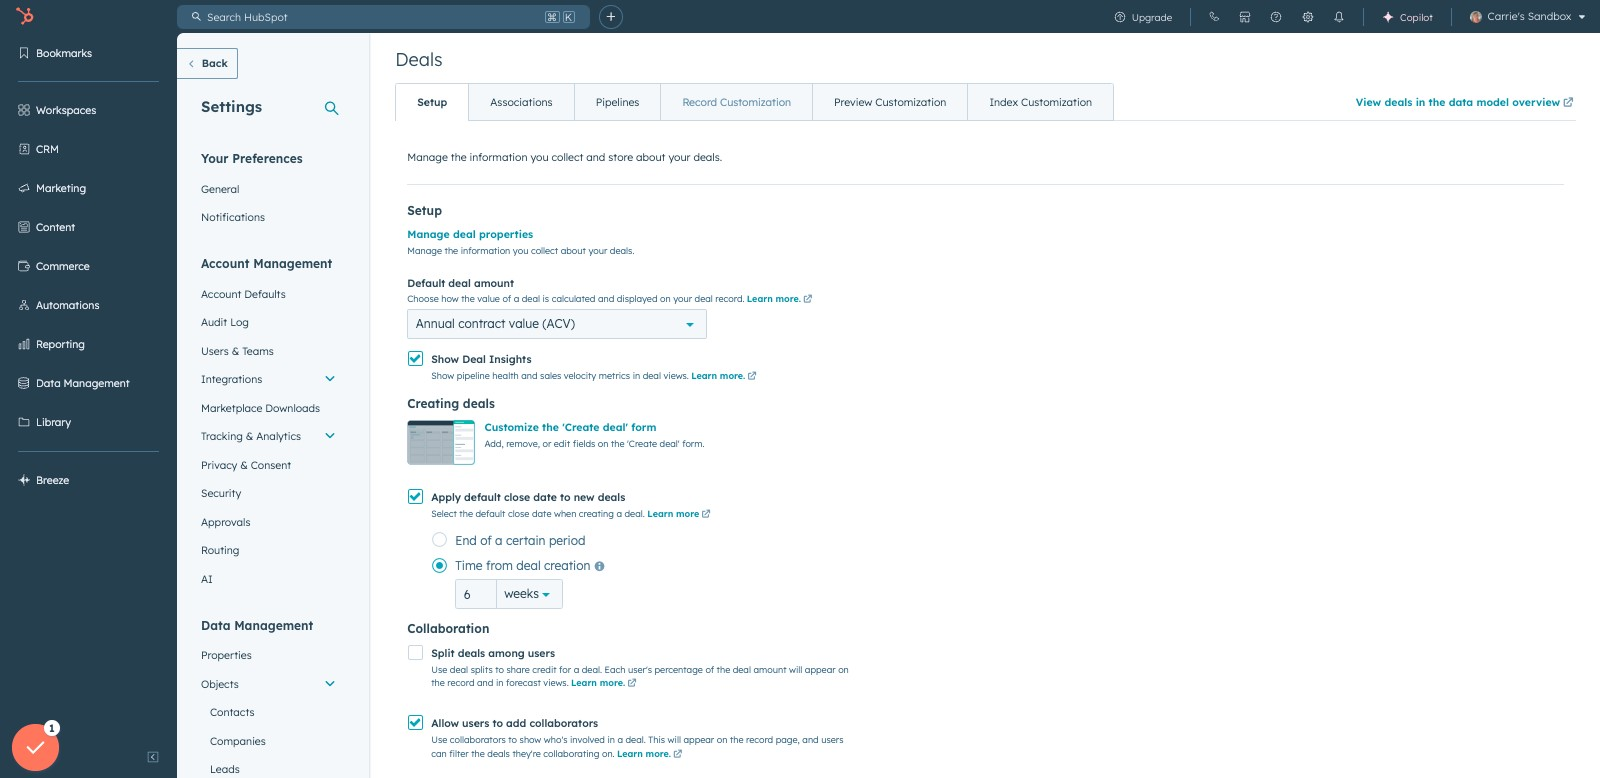
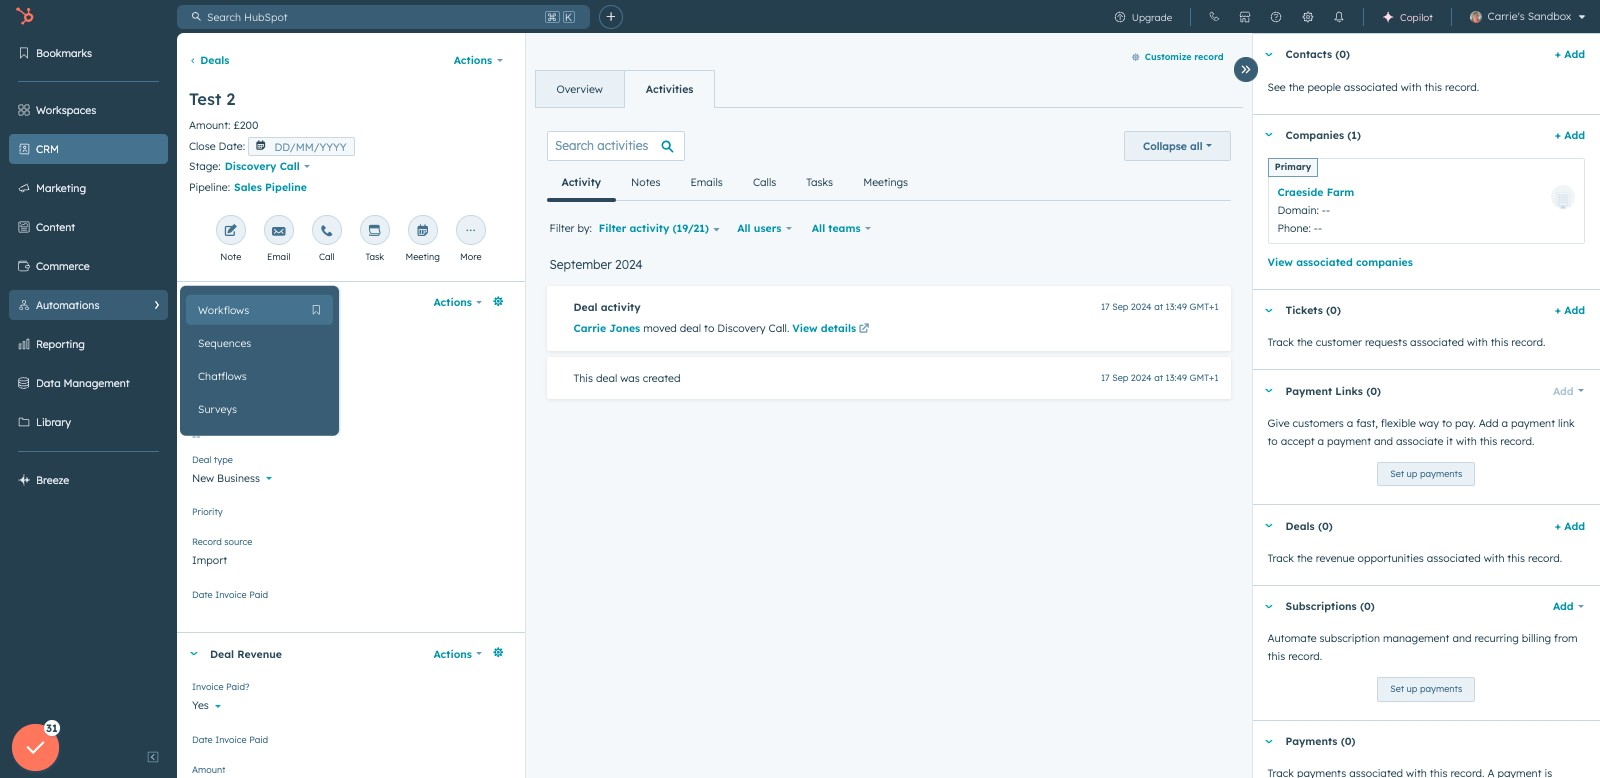
Now that the properties have been created, I wanted to ensure that these new properties could be seen on the deal record. To do this, I needed to customise the record.
- Go to ‘Settings’ and under Data Management, select the Deals object type. Then select the tab ‘Record Customisation’. Here you have an option to customise the record for a specific team or portal wide (default view)
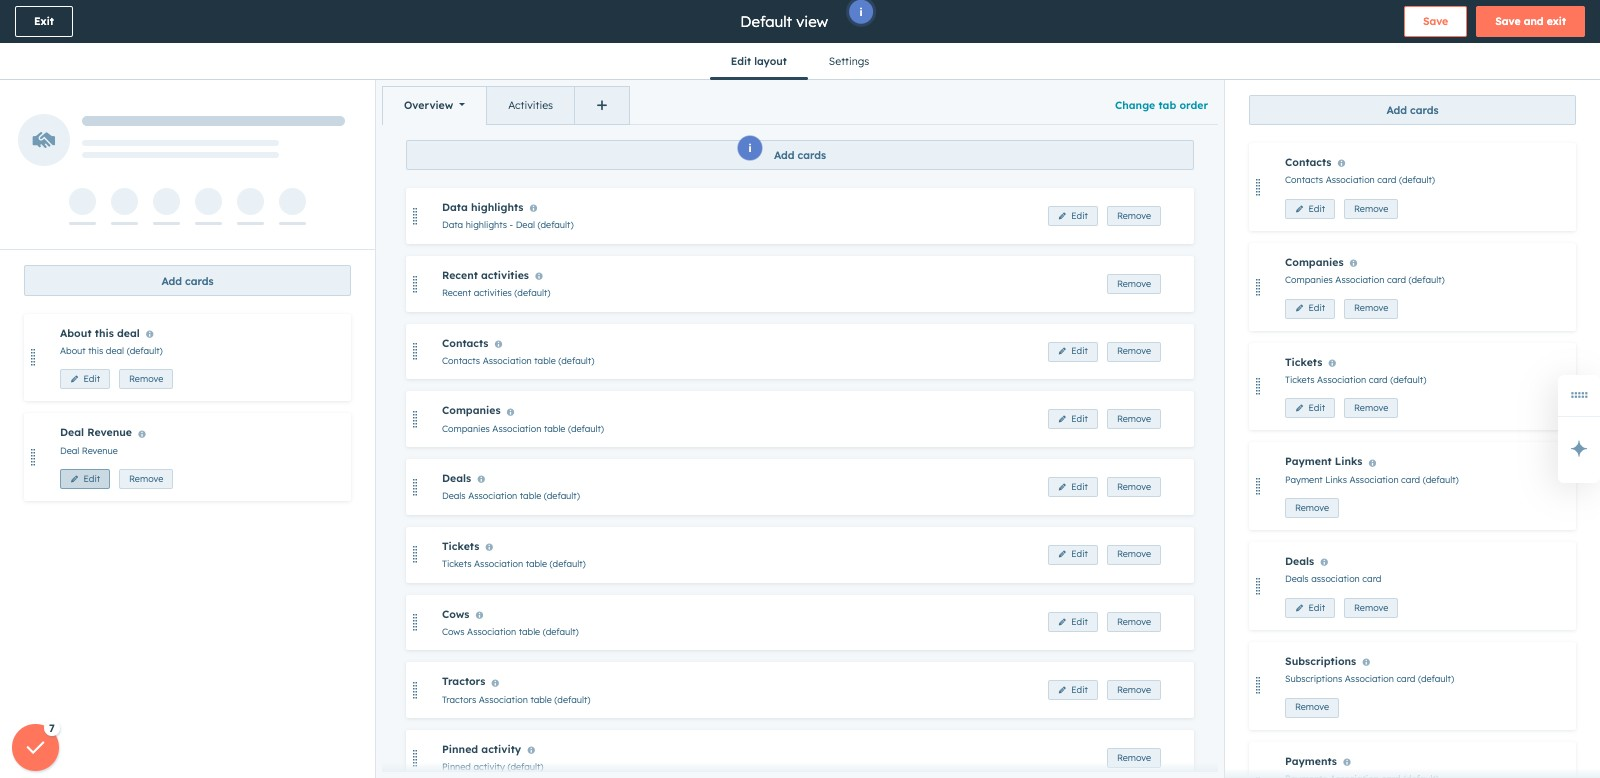
- I created a new card ‘Deal Revenue’ to show on the left-hand side bar. This included the deal properties ‘Amount’, ‘Deal Paid?’, and ‘Date Invoice Paid’
Step 3
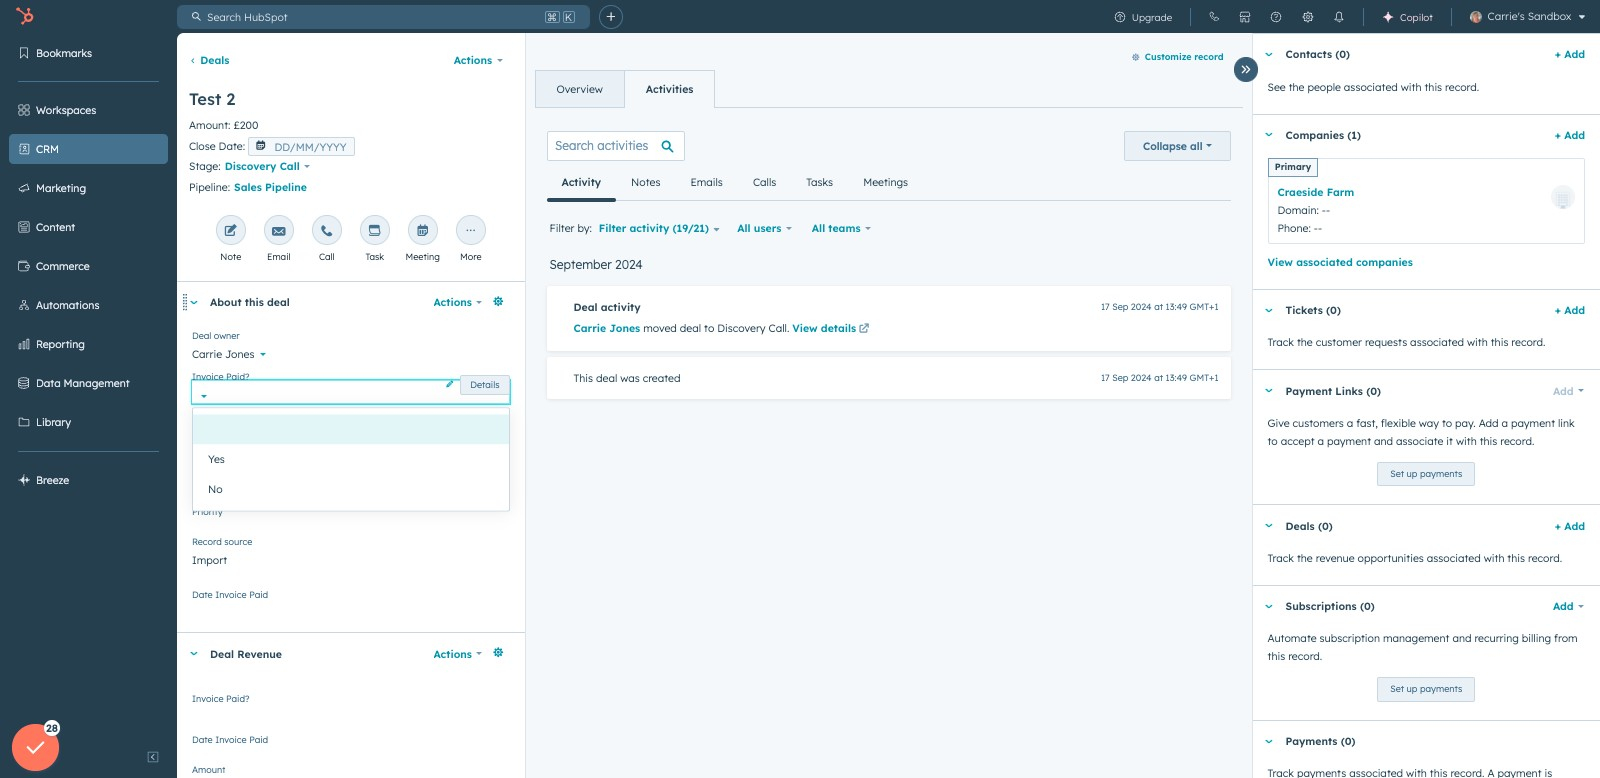
Create a test deal and select YES for the ‘Invoice Paid?’ property. This will determine later if the actions work
Step 4
The next and final step is to create the workflow. To do this click on ‘Automations’ on the left-hand side of the screen and choose ‘Workflows’
- Click on ‘Create Workflow’ and select ‘from scratch’
- As this workflow is regarding deal properties, we need to select ‘Deal-based’
- Give your workflow a name. Using a good naming convention for workflows is as important as it is for other collateral in your portal

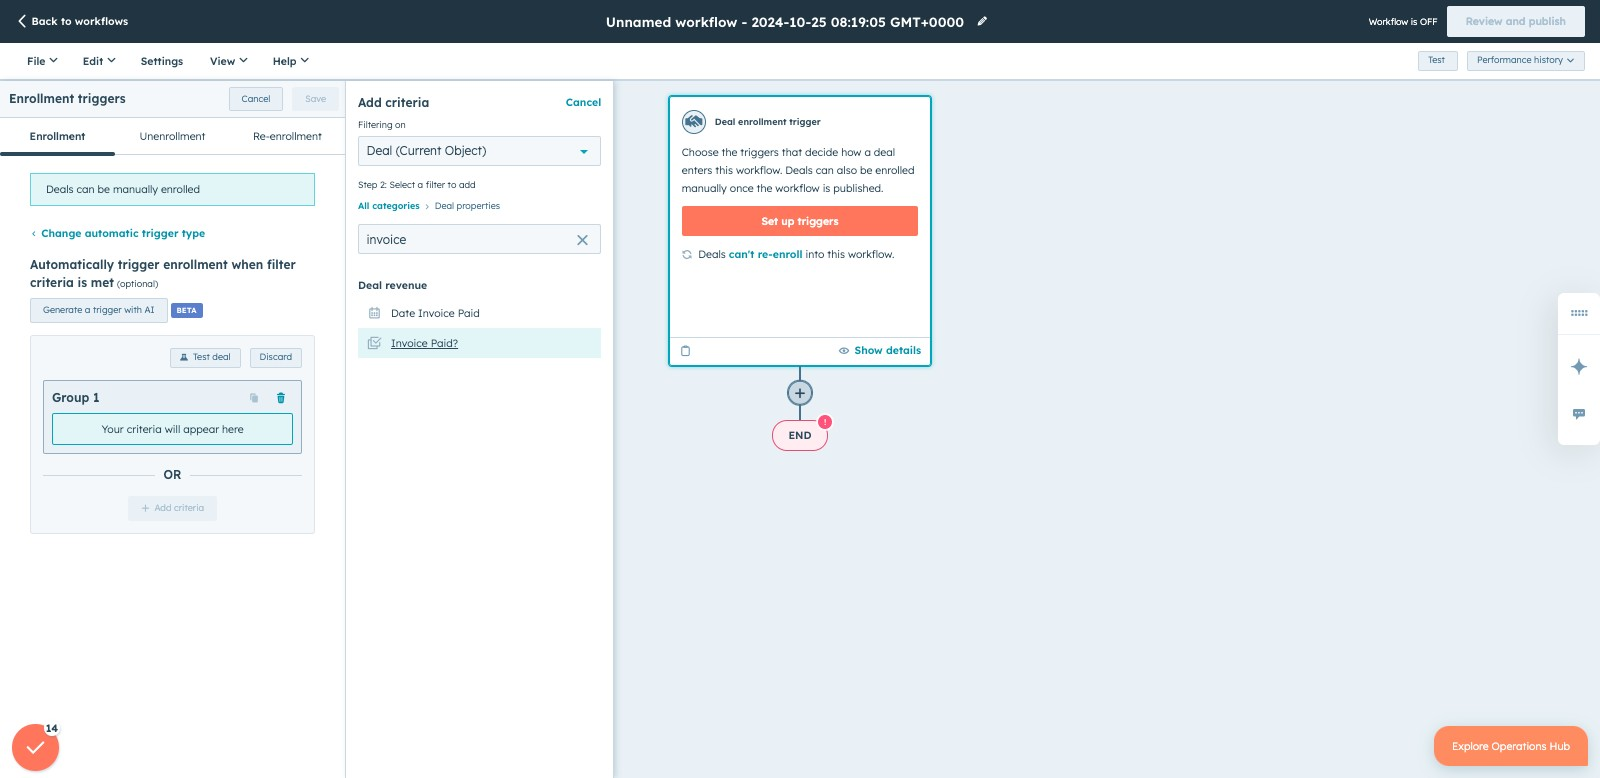
- Click on ‘Set up triggers’ and select ‘When filter criteria is met’
- We are filtering on Deal and deal properties. Type invoice in the search box to bring forward the newly created property “Invoice Paid?’
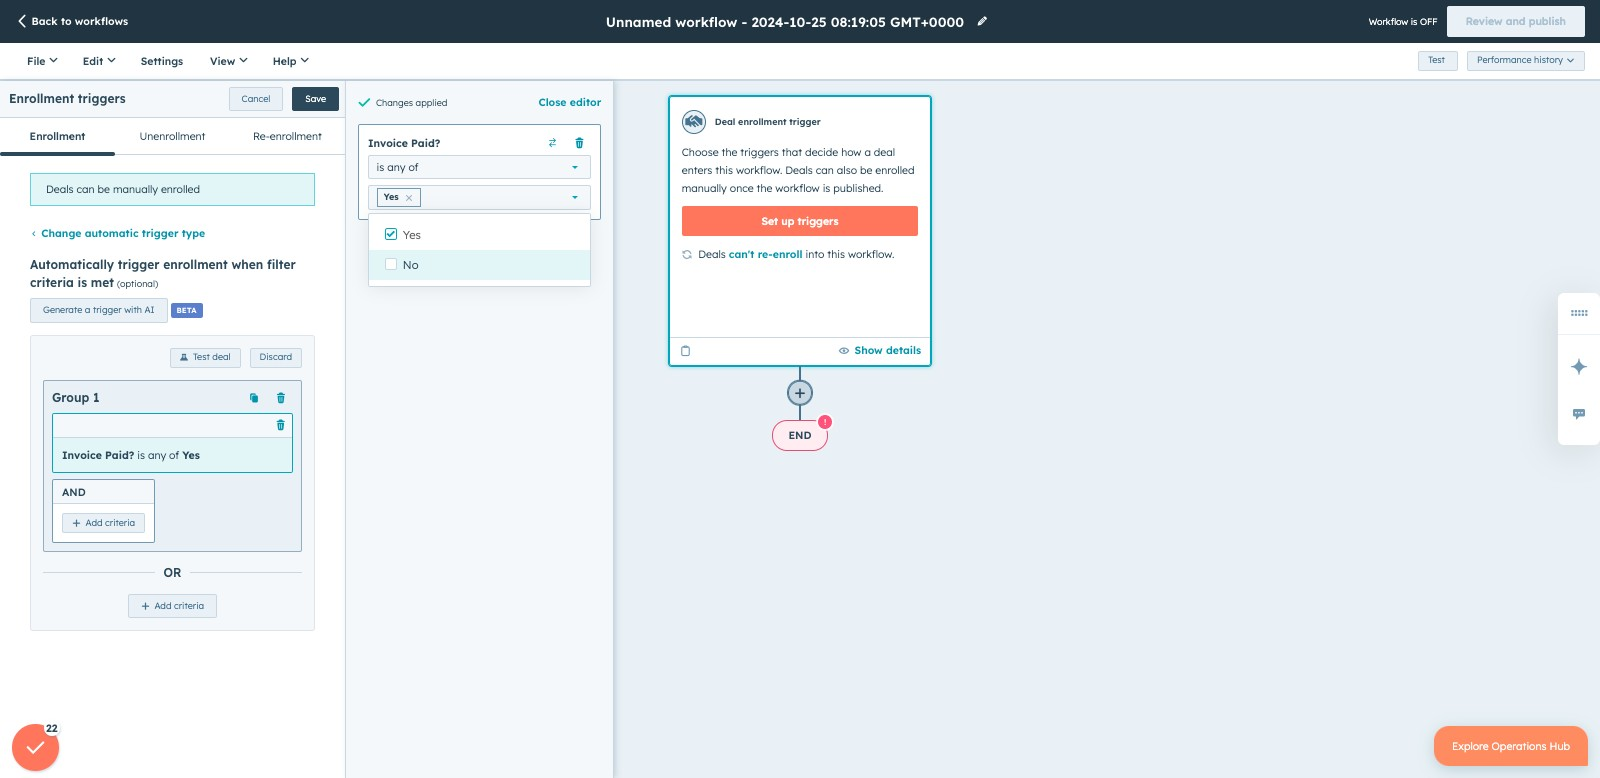
- Select ‘is any of’ …. ‘YES’
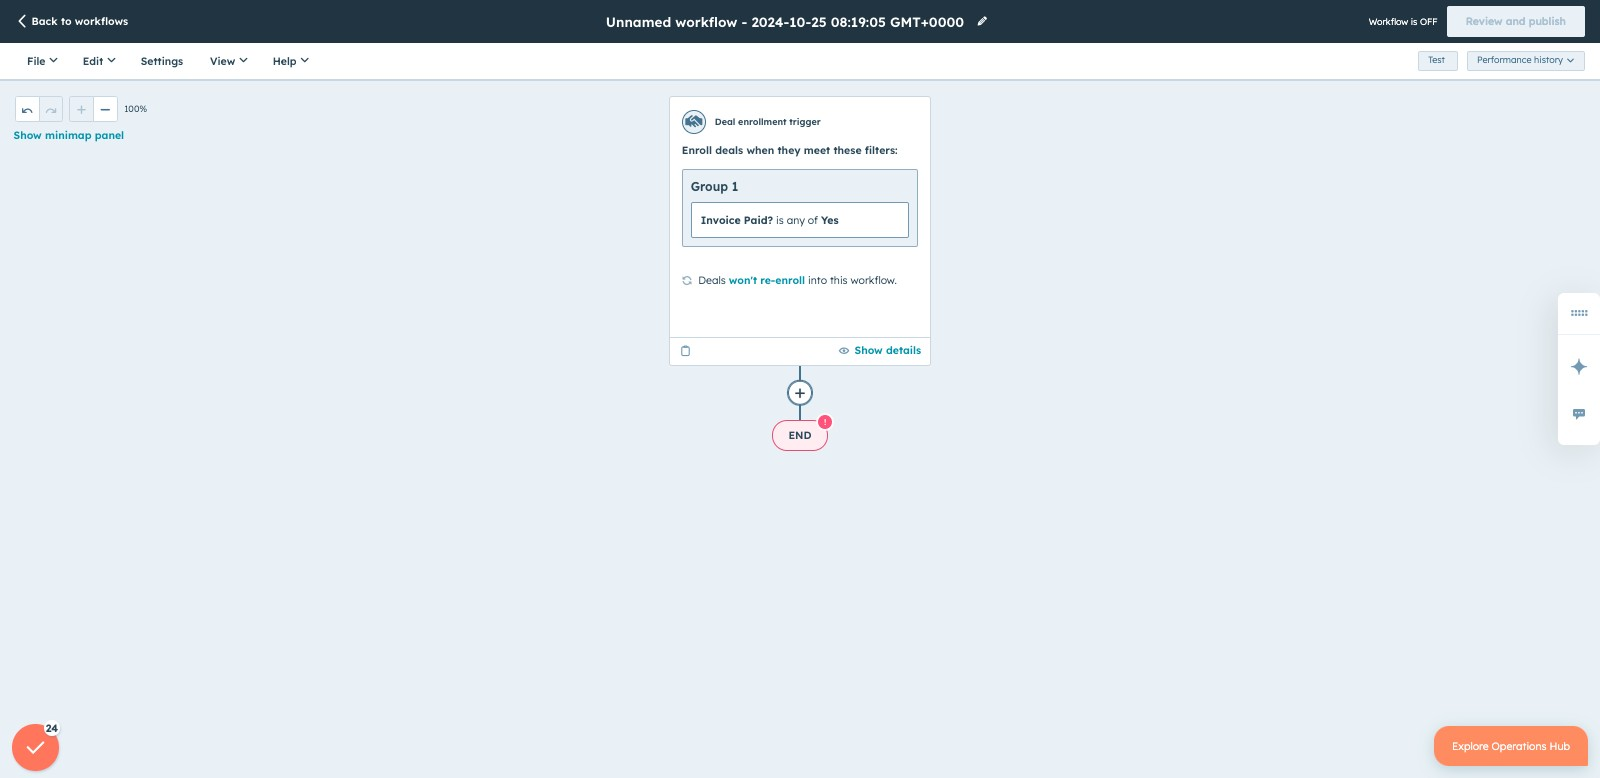
- Save
- Next we want to select the next stage, so click on the + sign
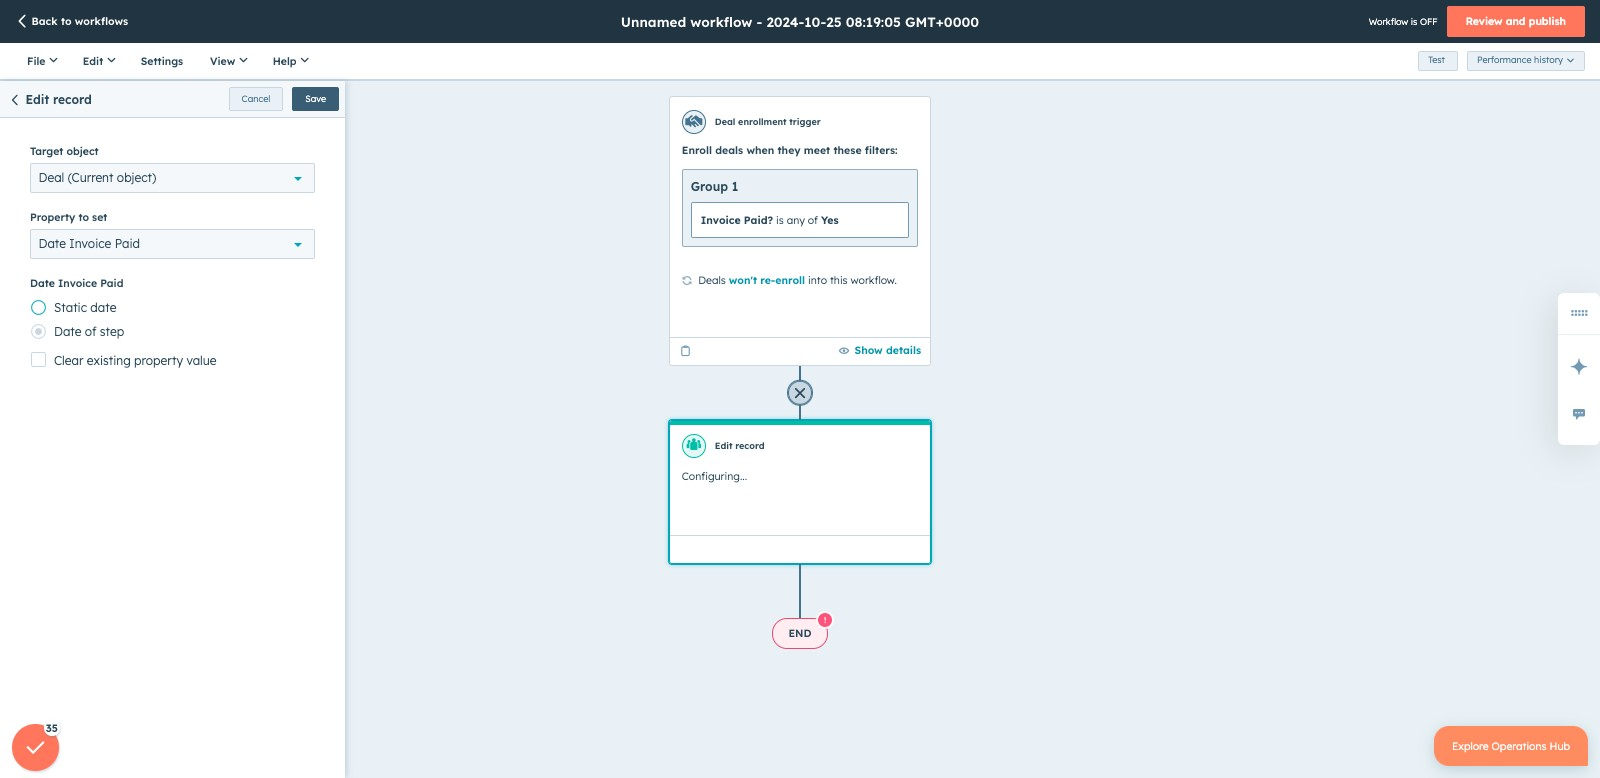
- Select CRM and ‘Edit a Record’
- Choose your property, in this case we want to edit the other newly created property ‘Date Invoice Paid’
- Select the option ‘Date of Step’ then ‘Save’
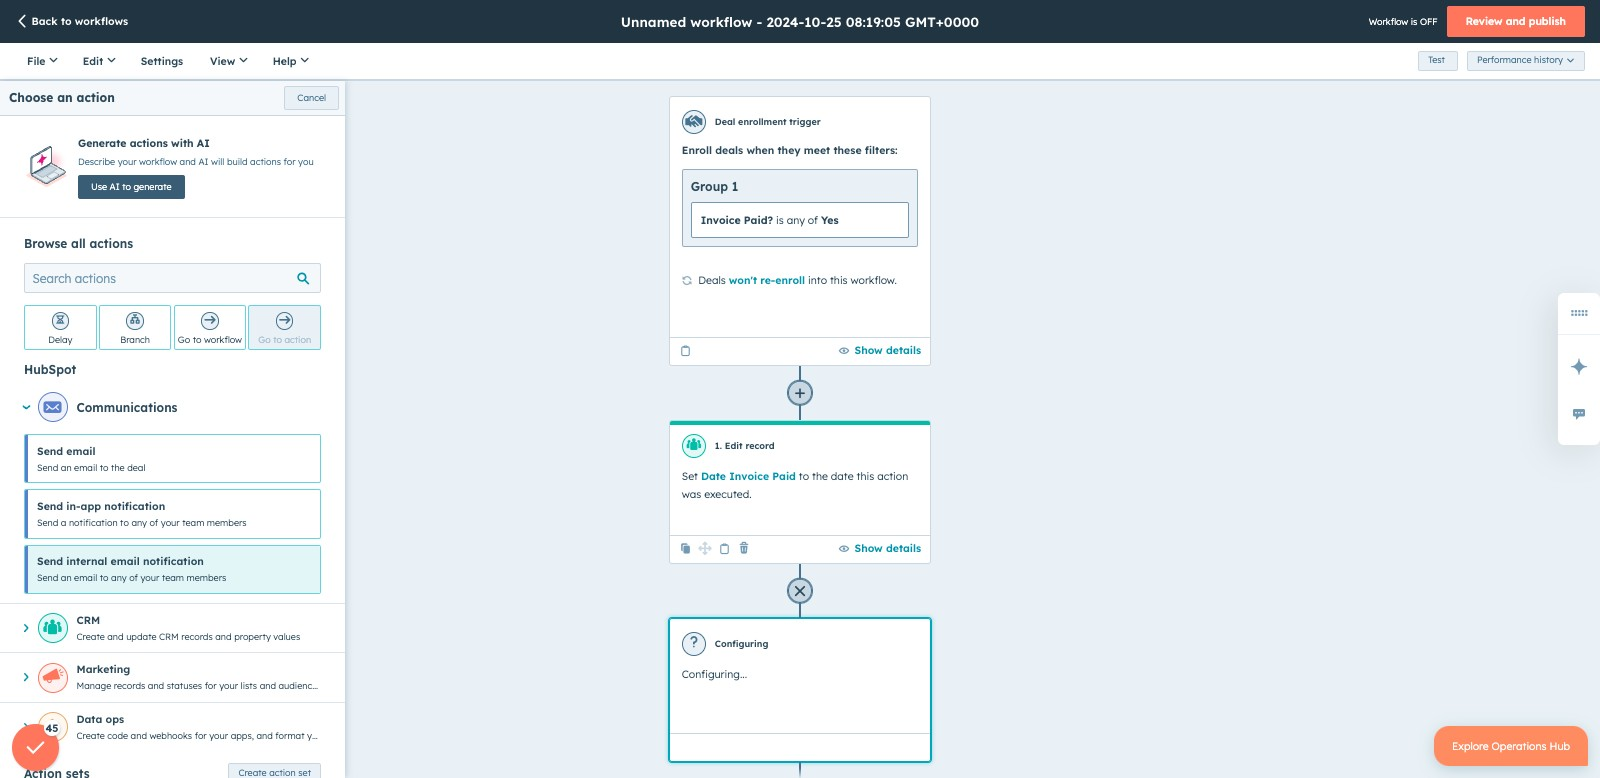
- The next action is to create the notification. To do this we want to create another step in the workflow by clicking on the + sign again
- This time we want to select Communications, and send an internal email
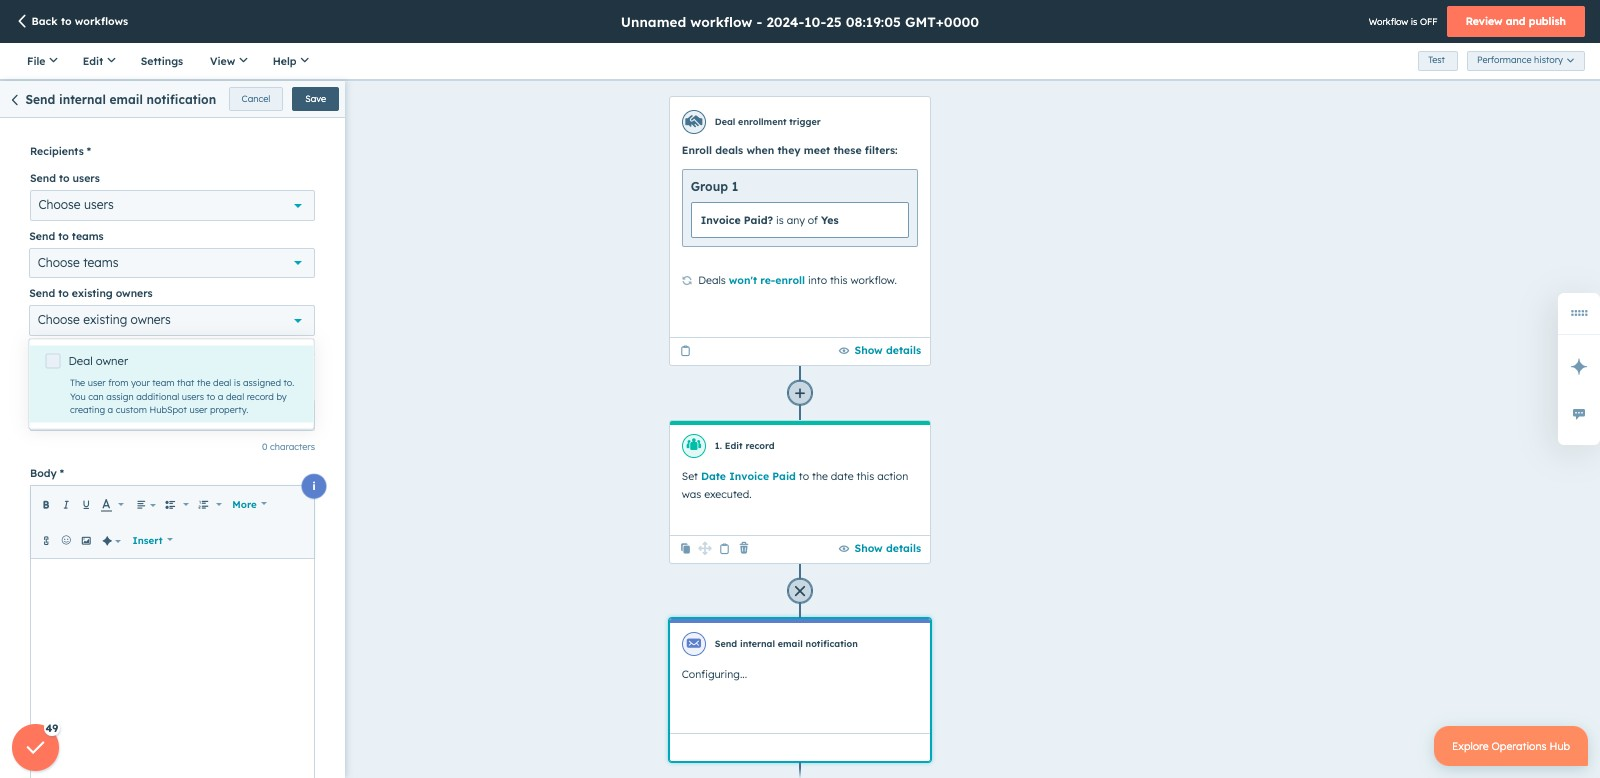
- Choose to send to ‘existing owner’ and select ‘Deal Owner’
- Configure your email. You can use tokens to create a personalised email

Step 5
When you have completed all the actions that you want the workflow to complete you can review and publish.
Note: It would be possible to update the Date Invoice Paid property using conditional logic if you didn’t need to notify anyone about the payment
