Everyone is familiar with using tasks for your sales team, but what about for your marketing team? If you're struggling to keep track of all your tasks and your team's progress then the HubSpot tasks feature can help. We recommend using in marketing campaigns to keep track of your campaign tasks for you and your team.
Step 1 - Marketing Campaign Set up
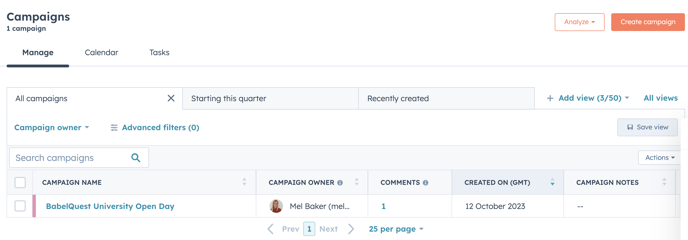
Navigate to the top bar and click on "Marketing" > "Campaign." If you haven't set up a marketing campaign yet, click on "Create Campaign" and provide the necessary details for your campaign.
If you already have an existing campaign and wish to add tasks to it, simply open that specific campaign.
Step 2 - Task step up
Once inside your campaign, navigate to the "Task" tab to gain a comprehensive overview of all tasks linked to the marketing campaign. Here, you can easily identify tasks due today, those overdue, or those that have been successfully completed.
To add a new task, locate the "Create New Task" button positioned at the top right-hand corner of the screen.
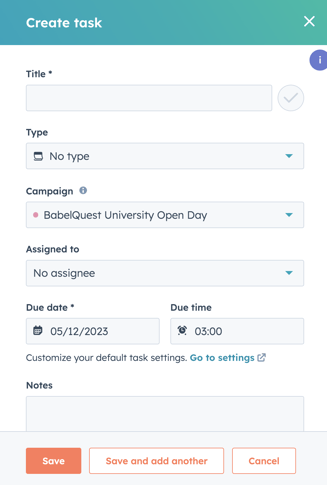 The above pop up box will appear and this is where you fill out the task details.
-
Create Title: Provide a descriptive title for your task, summarizing its purpose or goal.
-
Select Type: Choose the type of task from options such as blog, landing page, email, or designate it as "no type."
-
Assign the Campaign: Assign the task to a specific marketing campaign, ensuring alignment with your overall strategy.
-
Choose the Assignee: Specify the team member responsible for completing the task by selecting the assignee.
-
Select Due Date/Time: Set a deadline for the task by choosing the due date and, if applicable, the due time.
-
Add Notes: While not mandatory, including notes can provide additional context. This is particularly useful for adding task descriptions and relevant links.
-
Hit Save: Click the "Save" button to confirm and complete the task creation process.
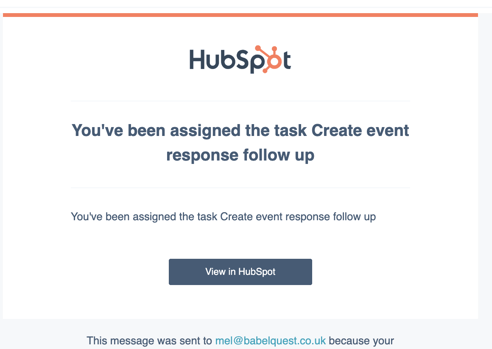
Once saved, an auto-generated email will be sent to the assigned team member, containing all the task details, including deadlines and any overdue status updates. This ensures that everyone stays informed and aligned with the task at hand.
Top tip: Once you've been using this for a while you'll be able to report on the tasks and identify areas for improvement.
