We've been running our HubSpot Hacks knowledge base for over a year now. When we stopped to review it, we realised that though it was getting loads of views, we were missing out on opportunities for two-way communication with our visitors. In particular, we wanted a really easy way for people to submit their ideas for Hacks. Using a support form was the best option for this, as (in contrast to a standard form) it would allow us to manage conversations in real time and give us the option to manage incoming requests with the pipeline tool.
We briefly talked about knowledge base support forms in our blog 'How We Doubled Our Knowledge Base Views in HubSpot', but now let's dive a little deeper into how to open up that much needed conversation with your visitors.
Permissions
First thing's first, before setting off on your quest you need to make sure you have the right permissions to create an inbox for your form. It's super simple but you will need your lovely super admin (thanks, Gem!) to give you the permissions to create this!
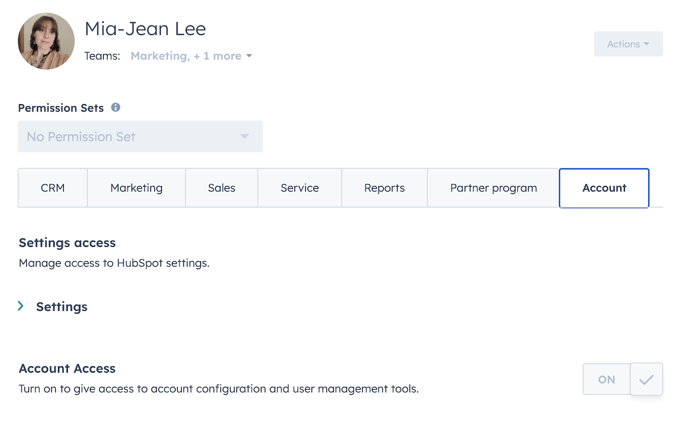
Just direct your administrator to your account setting and click this button while you set everything up!
Create your inbox
Once you have your permissions sorted, you then want to make a start on creating your inbox. It's really easy to do, just head over to inboxes in your settings and click create new inbox and name it.
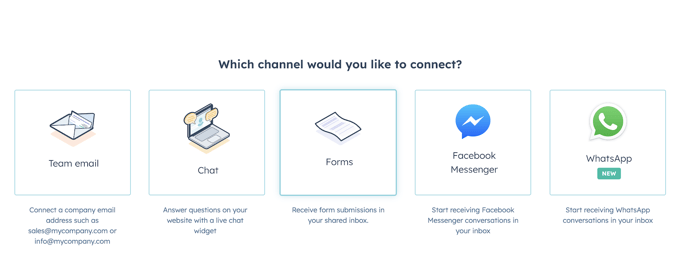
Then select to connect your inbox to a form - you might have one ready to go, or you can create a new one.
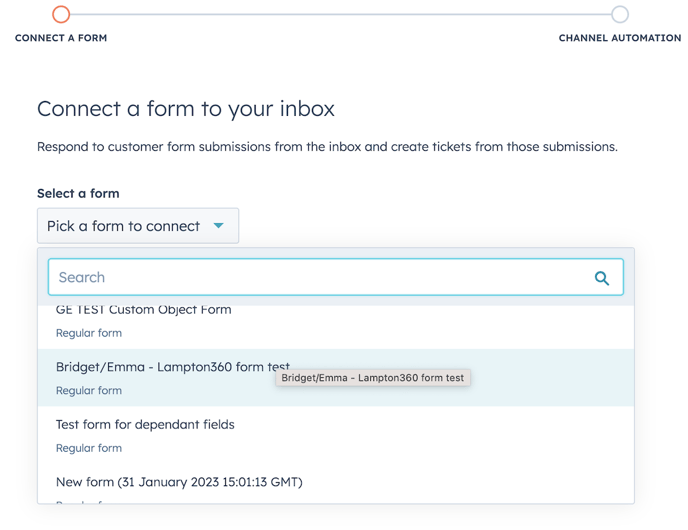
Note: Whilst you are in the form make sure to set lifecycle stages, associate a campaign and set up notifications to relevant teams.
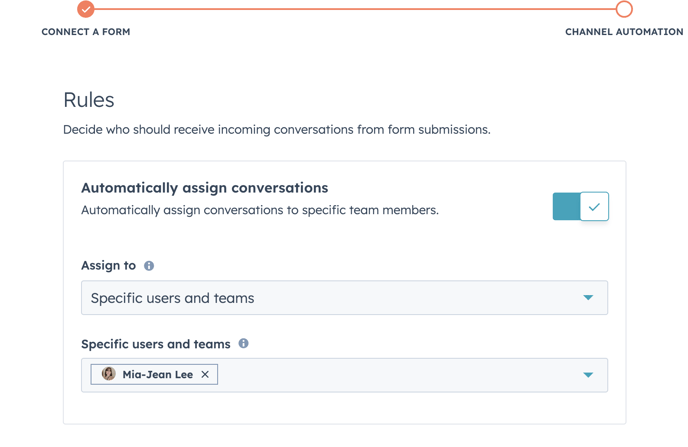
Rules are to be broken... or not!
Once you have set up your form you want to set up the rules of your inbox - i.e. who will be assigned to the conversation. This is really simple, and you can change this at any time or re-assign them once they are in.
And click finish! You have your Inbox and form created. From here you can connect your inbox to a pipeline.
Add your inbox to a Pipeline
A pipeline is a great way to manage your support form conversations, by turning them into tickets you can track each conversation effectively throughout the process.
Setting up your pipeline is super easy, head over to pipelines in setting and create your pipeline according to your support form.
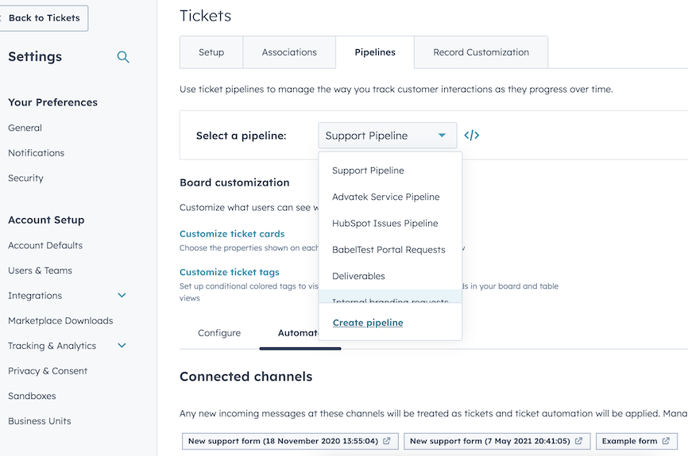
Once you have created your pipeline then add it to your inbox in your inbox settings and you are ready to go!
Time to tackle the template
Now, you have your inbox and form, it's time to set it live. Head over to your knowledge base and click 'Customize Template'. In there you want to head to the navigation bar and scroll down. 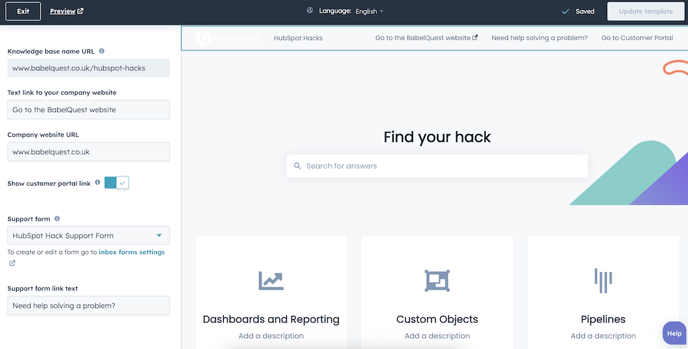
Select your support form and choose some text to go along with it and update your template.
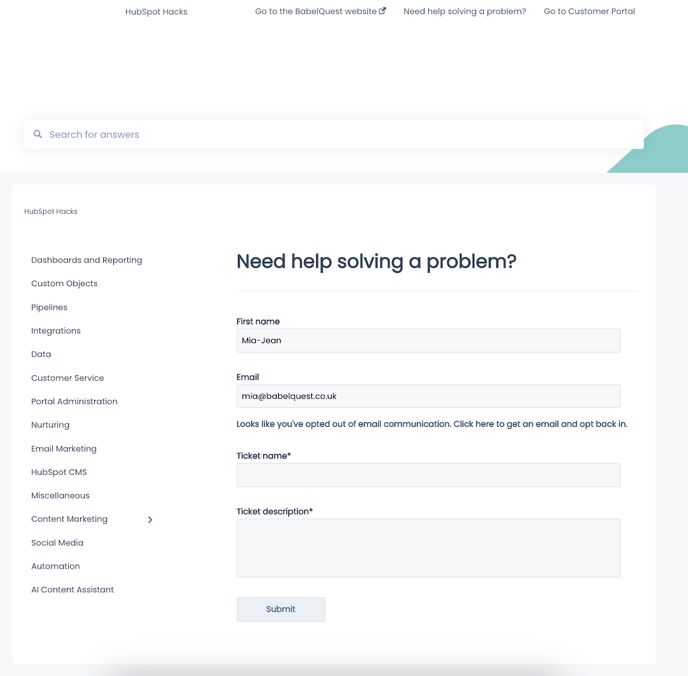
There isn't much room for personalisation for the form within the template unfortunately, but when a visitor clicks they will be taken to a page like below where they can take the steps to start that much needed chat!

Author: Mia-Jean Lee
Digital Marketing Executive